Sophos Automatic Login & Authentication
This Python script automates the login process for a Sophos internet web authentication portal. It ensures uninterrupted connectivity by automatically re-authenticating you every 2 minutes to prevent logout.
Download Latest ReleaseFeatures
Quick Start
Using Pre-built Executable
You can download the latest pre-built executable from the Releases section without installing Python or any dependencies:
- Go to the Releases section on GitHub
- Download the executable for your operating system (Windows, macOS, or Linux)
- Run the downloaded file:
- Windows: Double-click the
autologin.exefile - macOS:
- Extract the downloaded autologin-mac.zip file
- Option 1: Remove the quarantine attribute by opening Terminal, navigating to the extraction location, and running
xattr -d com.apple.quarantine autologinbefore executing it - Option 2: Right-click on the extracted file, select "Open" from the context menu, then confirm the security dialog
- Linux:
- Extract the downloaded autologin-linux.zip file
- Open Terminal, navigate to the extraction location and run
./autologin
- Windows: Double-click the
Building from Source
If you prefer to run the Python script directly:
- Clone the repository:
git clone https://github.com/tashifkhan/sophos-auto-login.git cd sophos-auto-login - Install the required dependencies:
pip install -r requirements.txt - Run the script:
python autologin.py
Command-Line Usage
The script supports the following command-line arguments:
--edit or -e
--delete or -del
--export [path] or -x [path]
--import [path] or -i [path]
--show or -l
--daemon or -d
--start)--exit or -q
--logout or -lo
--speedtest or -t
Examples
# Start the auto-login process
python autologin.py --start

# Run in daemon mode (background process)
python autologin.py --start --daemon

# Stop the daemon process
python autologin.py --exit

# Add new credentials
python autologin.py --add

# Import credentials from CSV
python autologin.py --import credentials.csvDaemon Mode
The daemon mode allows you to run the auto-login process in the background without keeping a terminal window open. This feature is only available on Unix-like systems (Linux, macOS).
When running in daemon mode:
- The process detaches from the terminal and runs in the background
- All output is redirected to a log file in
~/.sophos-autologin/sophos-autologin.log - A PID file is created at
~/.sophos-autologin/sophos-autologin.pid
Starting the Daemon
python autologin.py --start --daemonChecking Daemon Status
You can check if the daemon is running using the --status argument:
python autologin.py --statusSee an example screenshot of the status output.
Stopping the Daemon
python autologin.py --exitAlternatively, you can use the following command to find and kill the process:
kill $(cat ~/.sophos-autologin/sophos-autologin.pid)Screenshots
Here are some examples of the script in action:
Interactive Menu
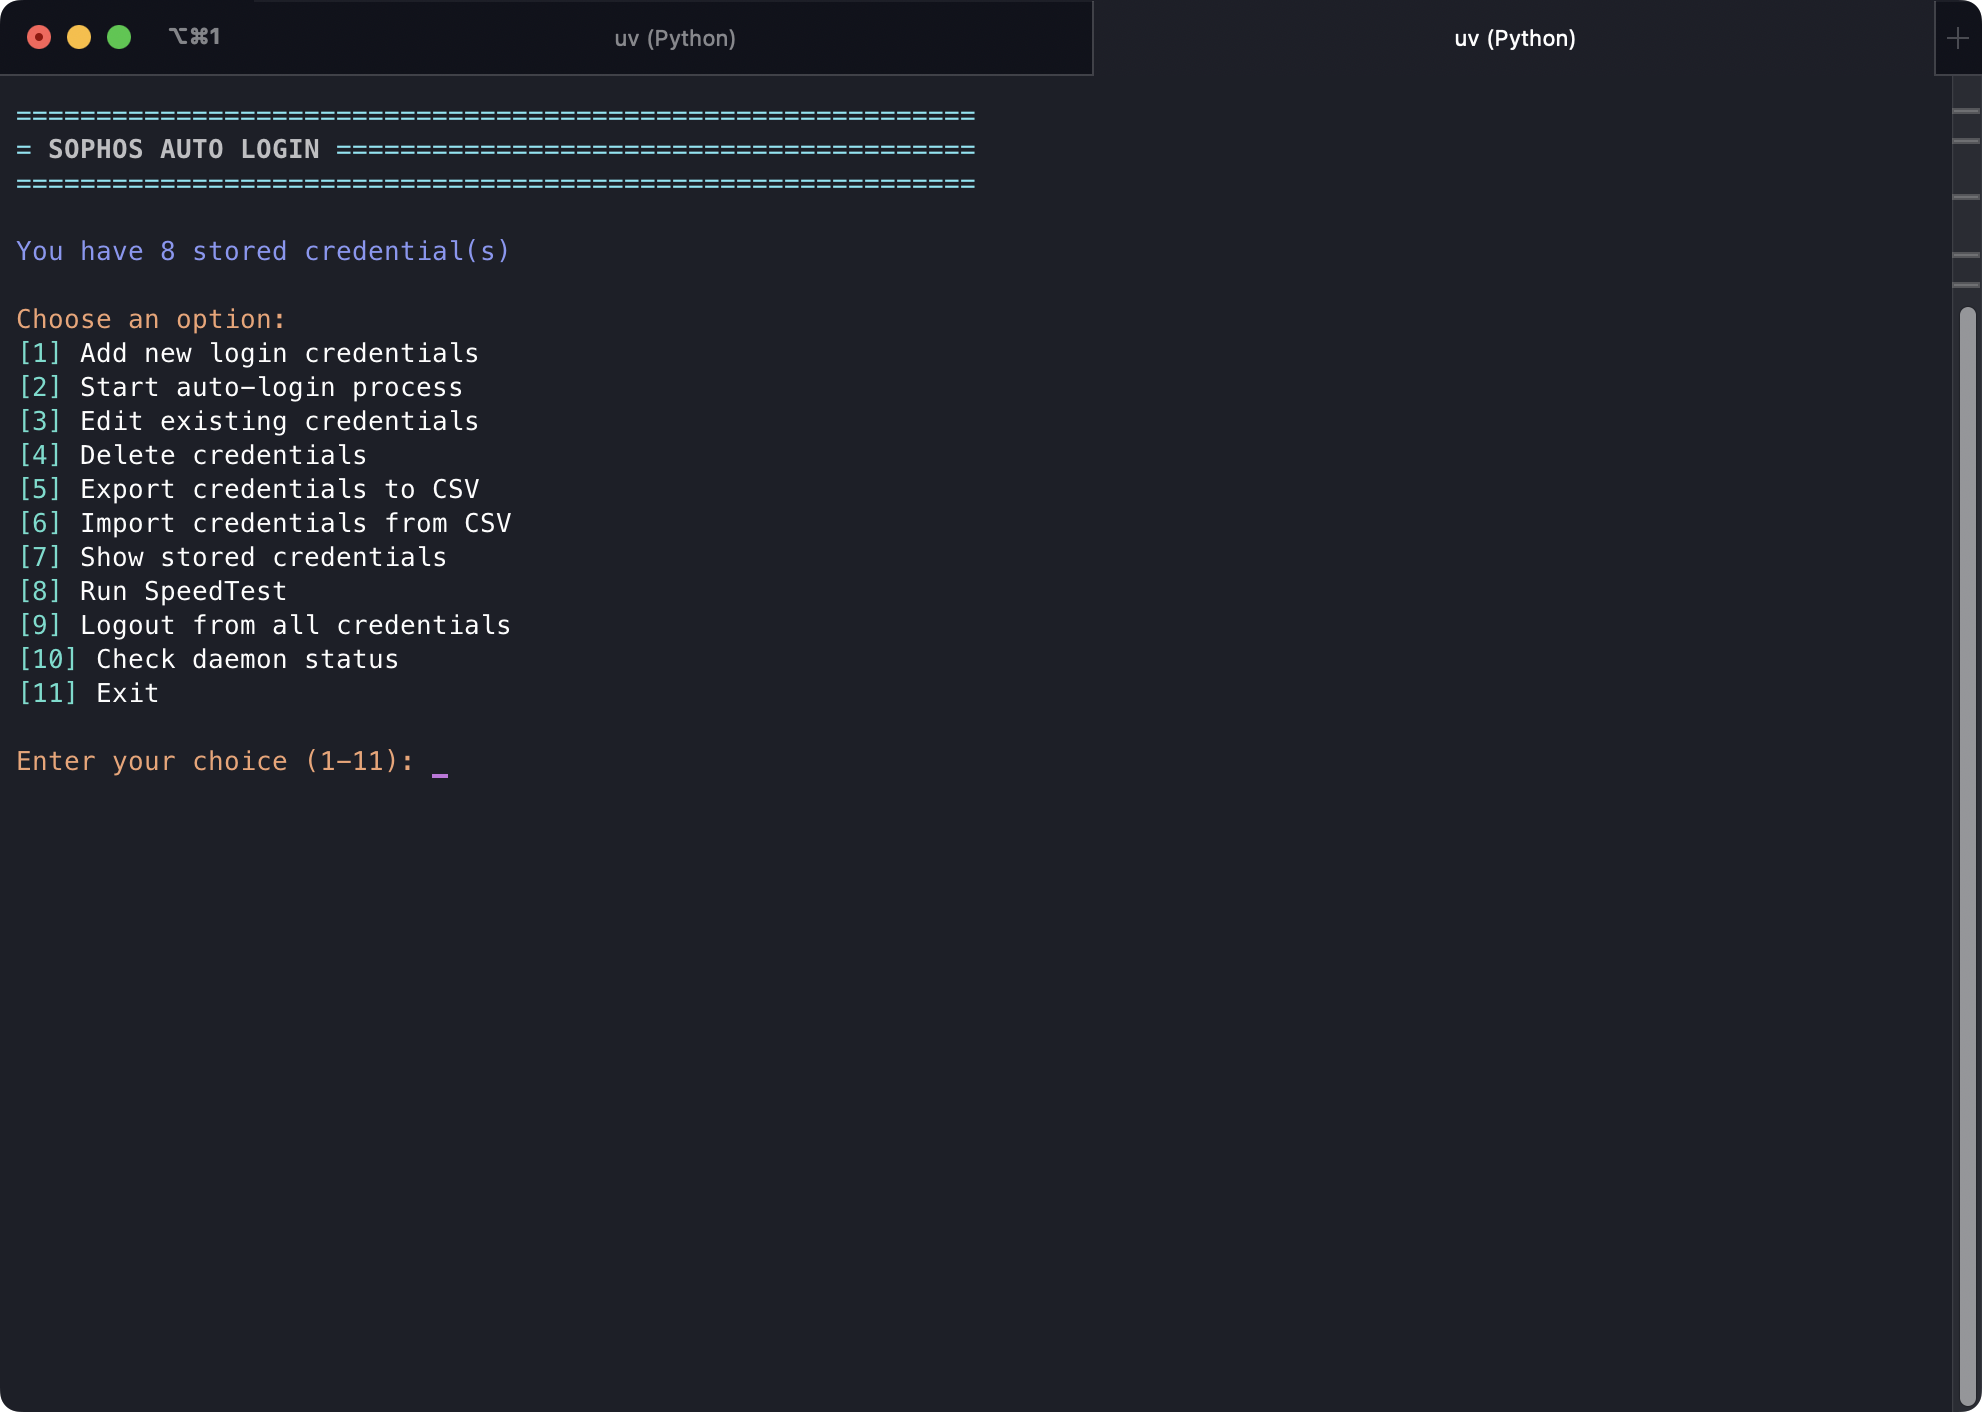
The main interactive menu providing various options.
Starting Auto-Login
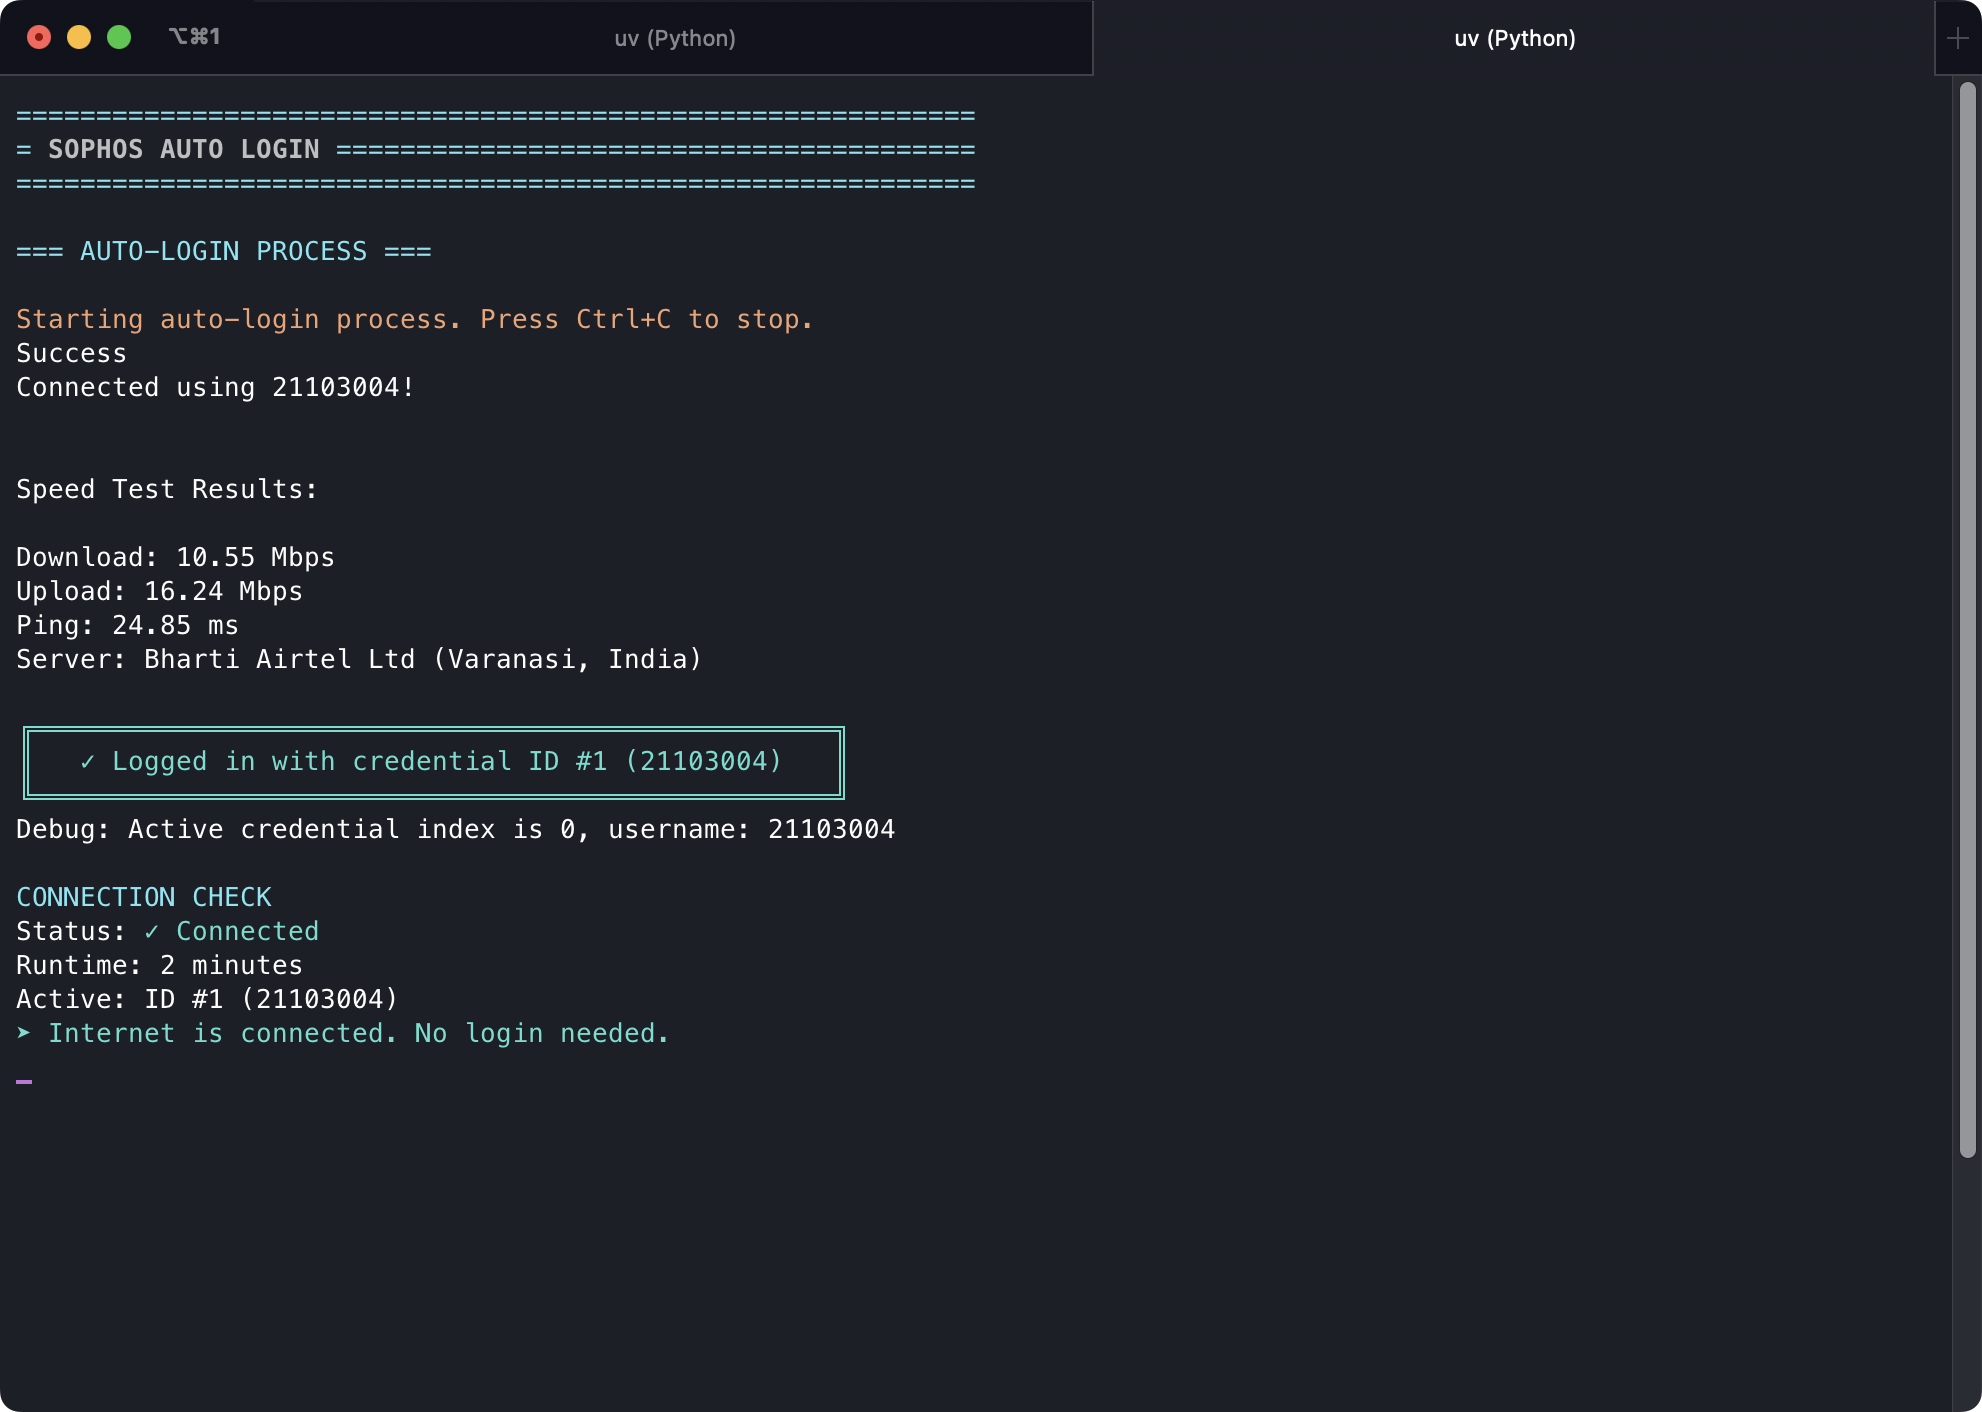
Output when starting the auto-login process using --start.
Daemon Status
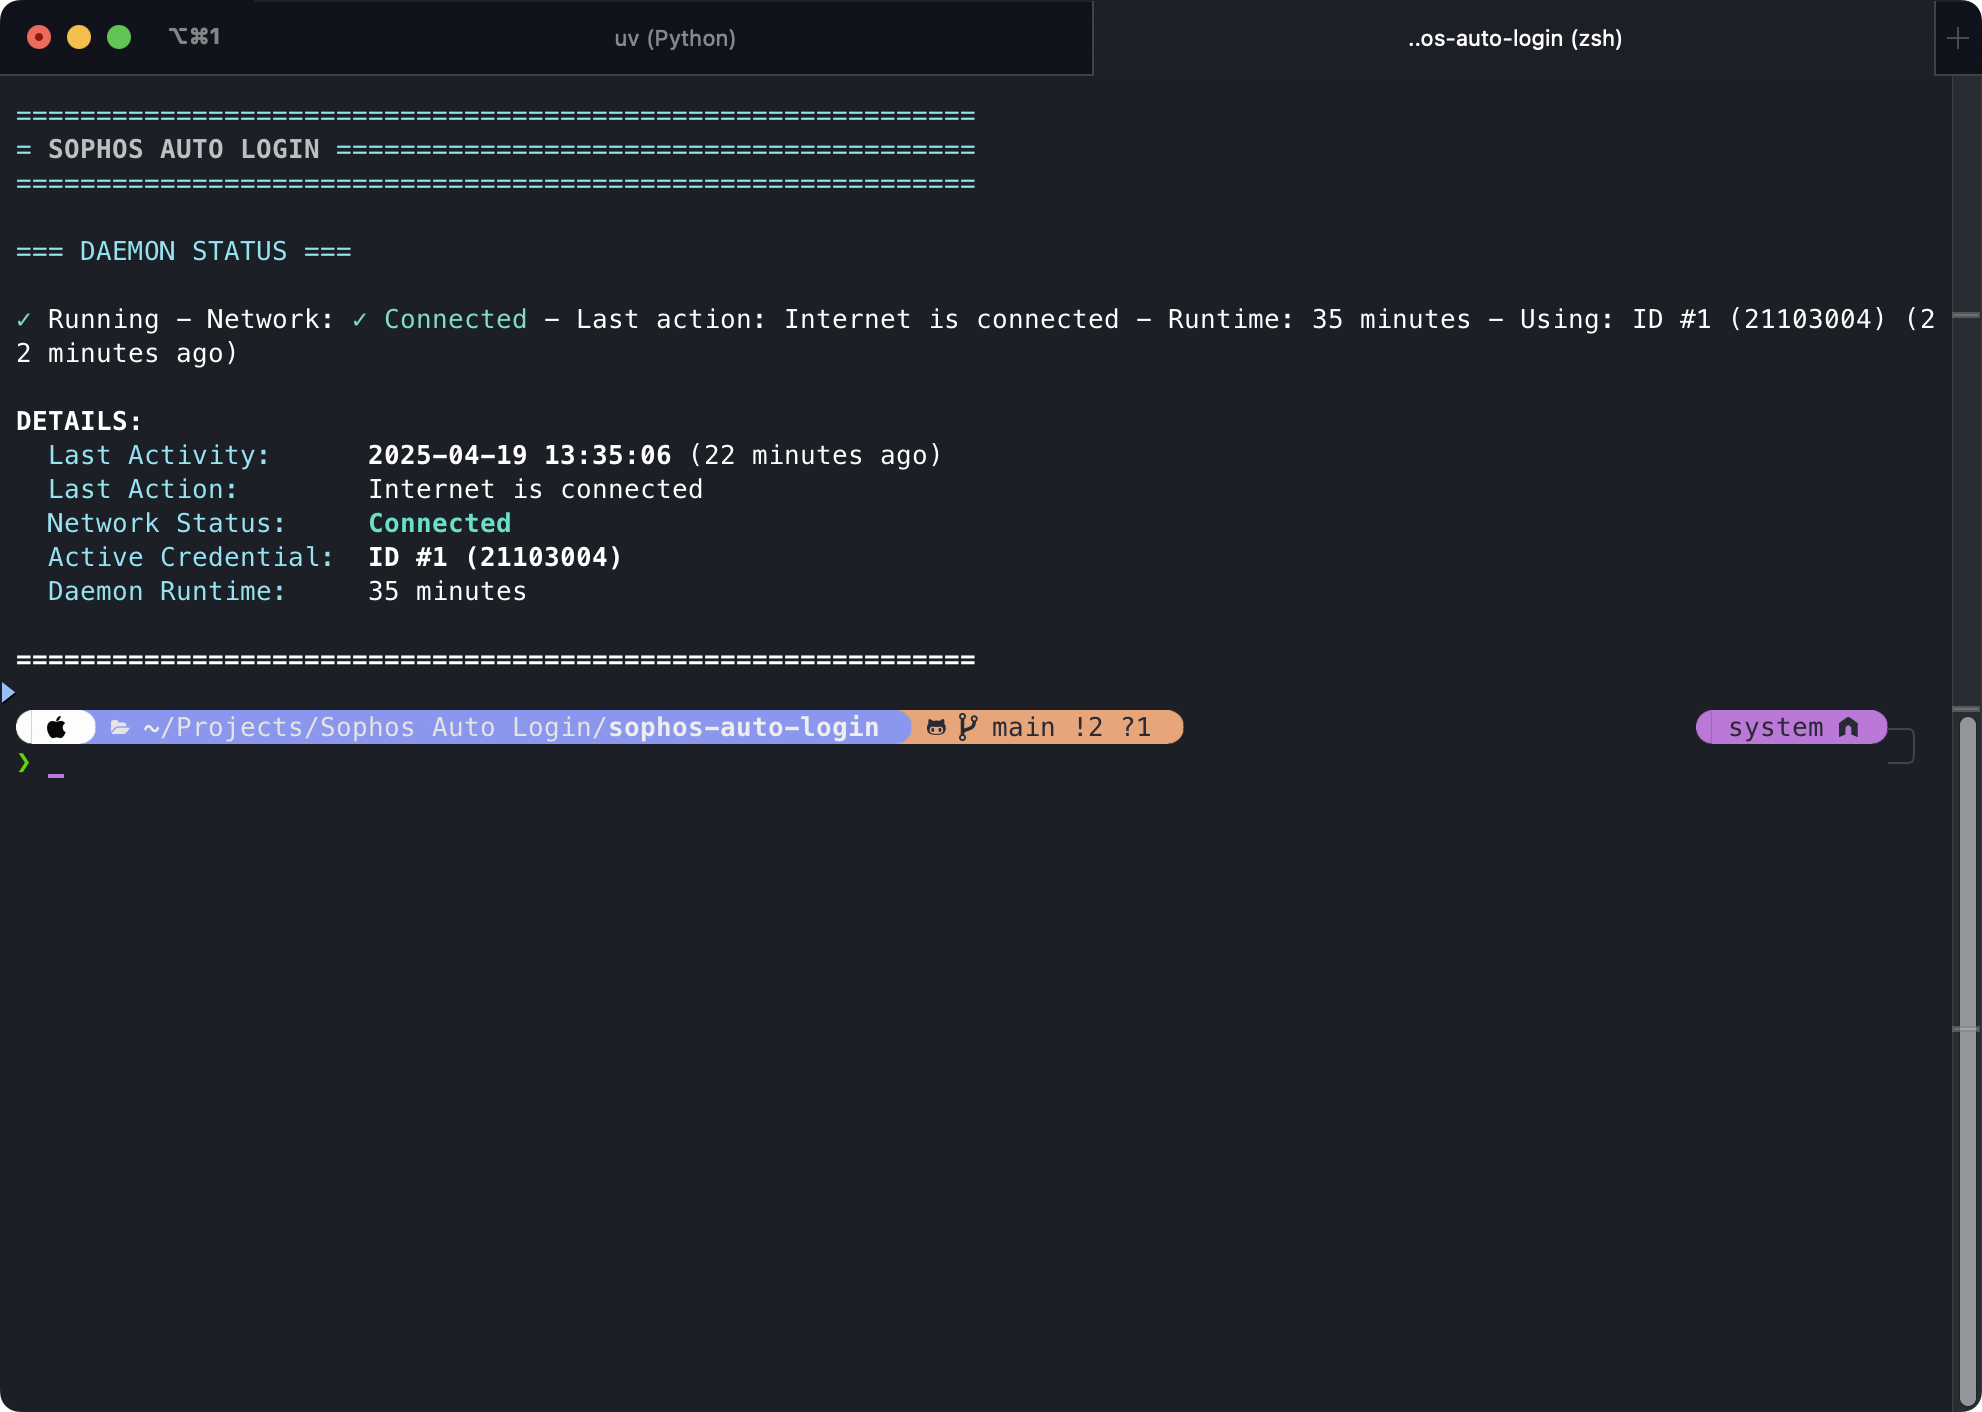
Checking the status of the background daemon process using --status.
Exit Daemon
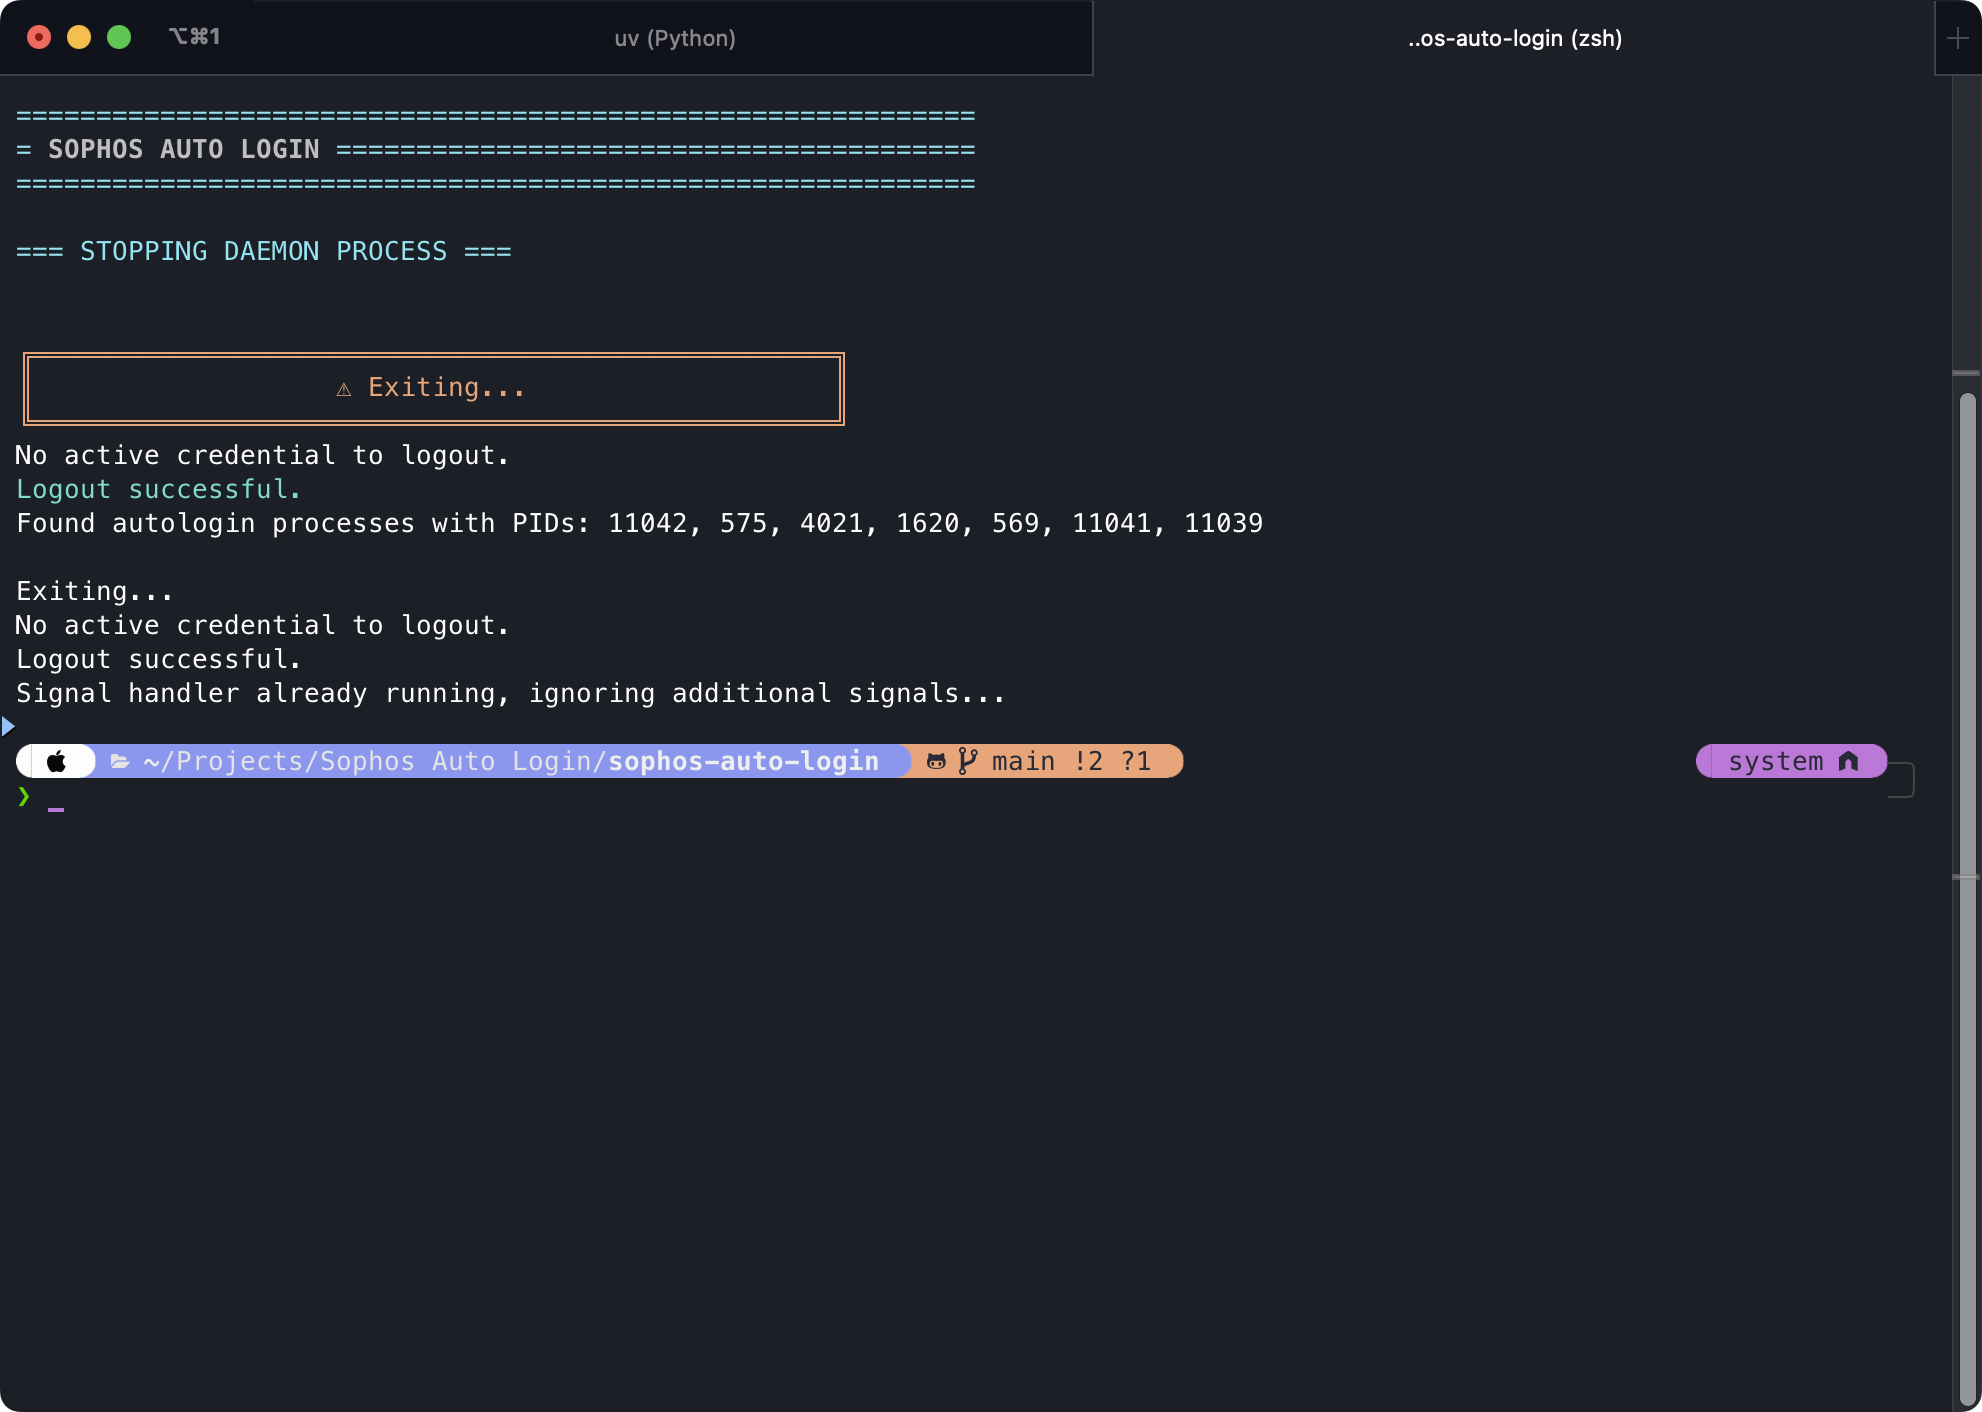
Stopping the daemon process and logging out using --exit.
Logout
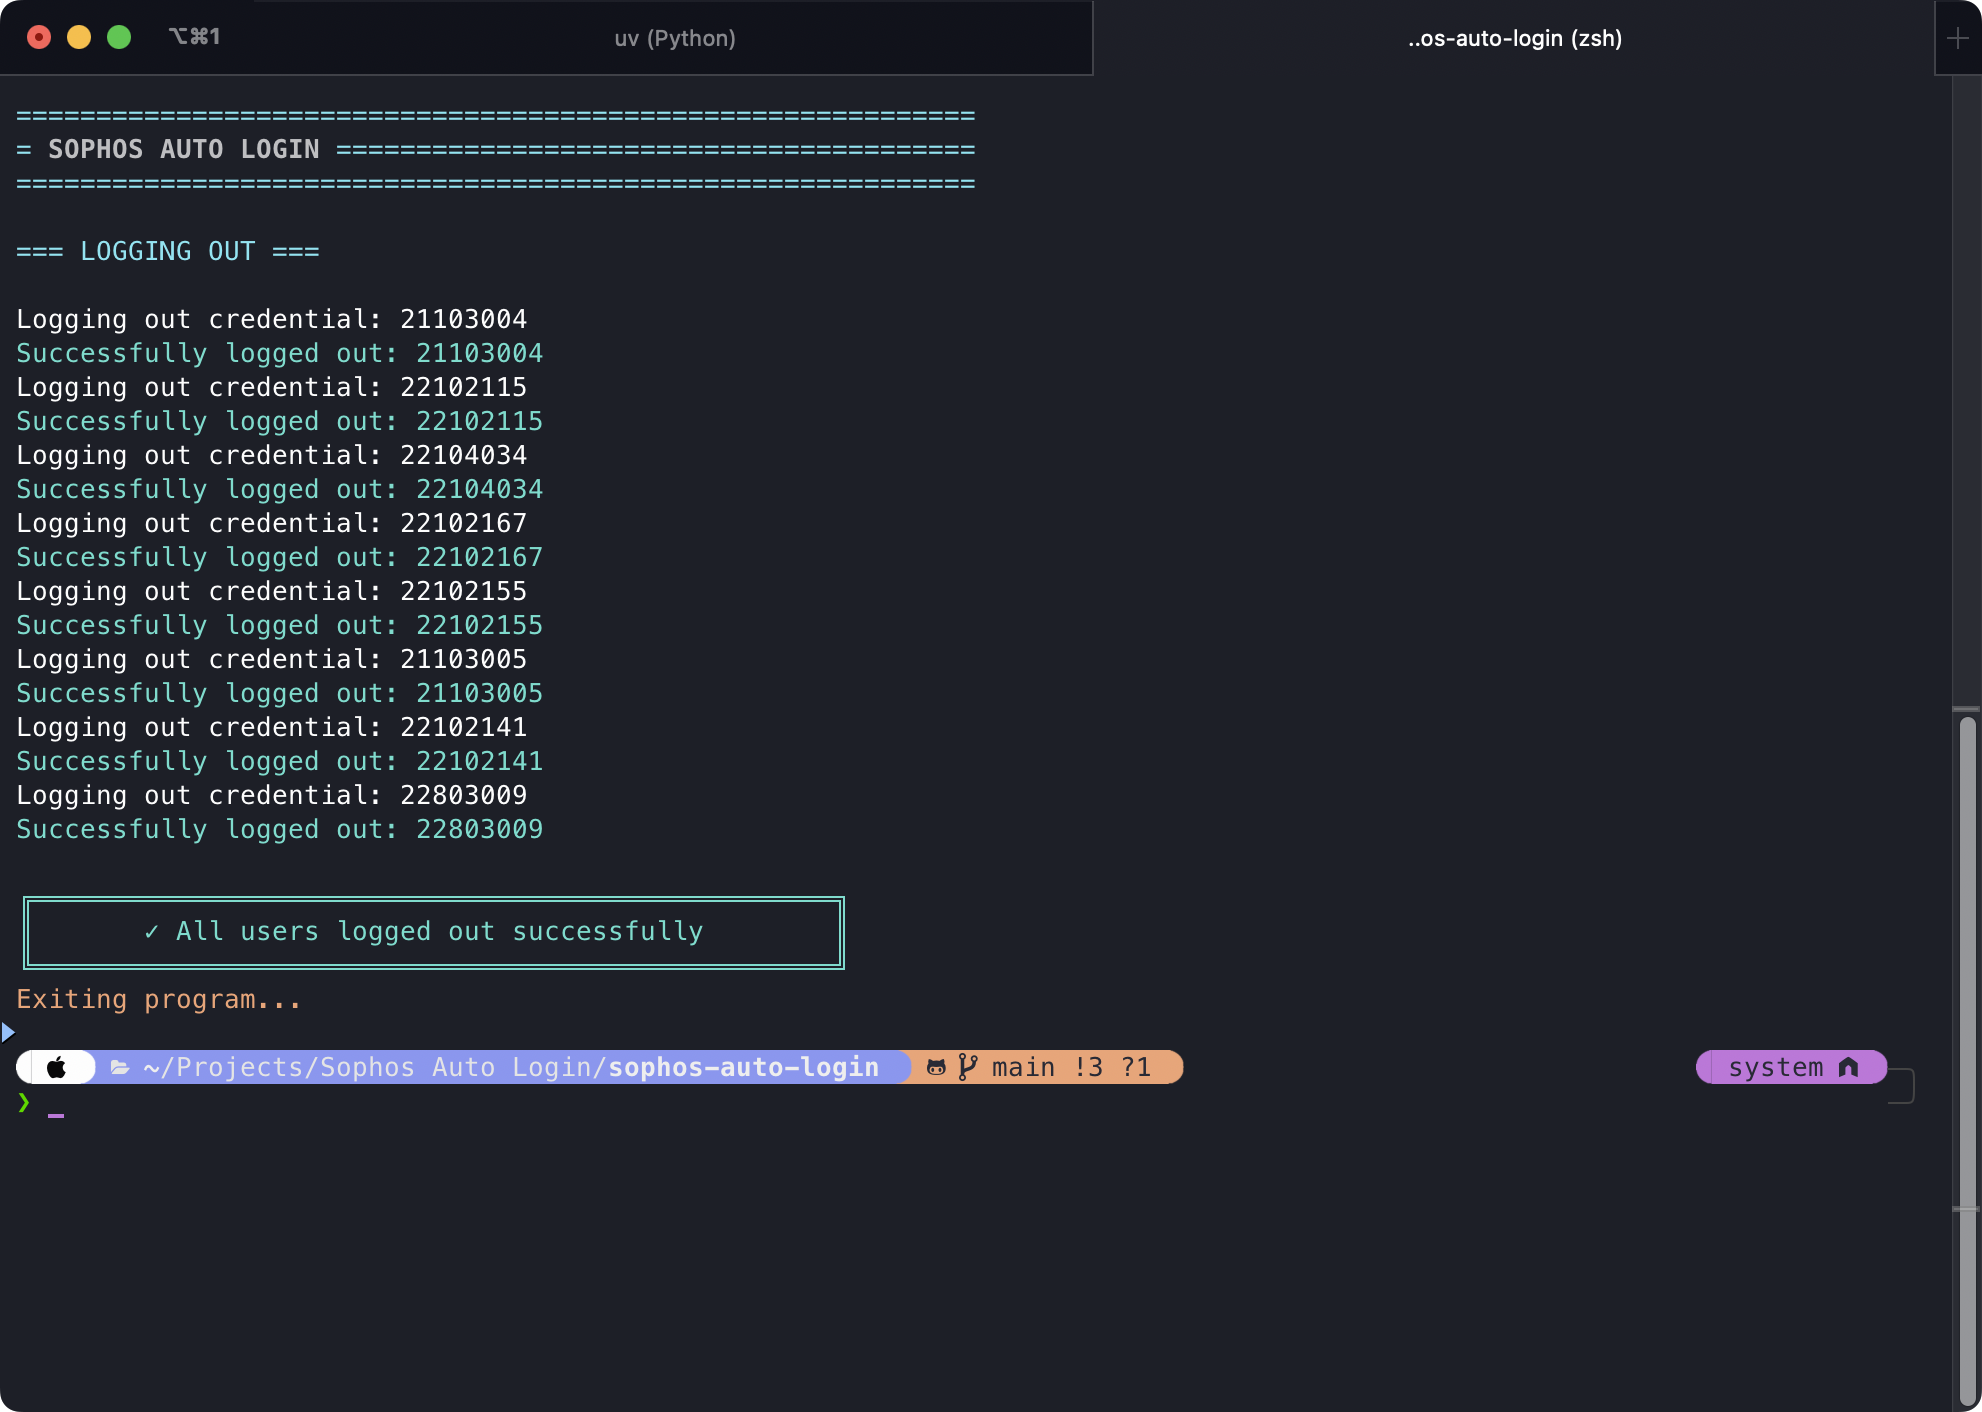
Logging out from all active sessions using --logout.
Speed Test
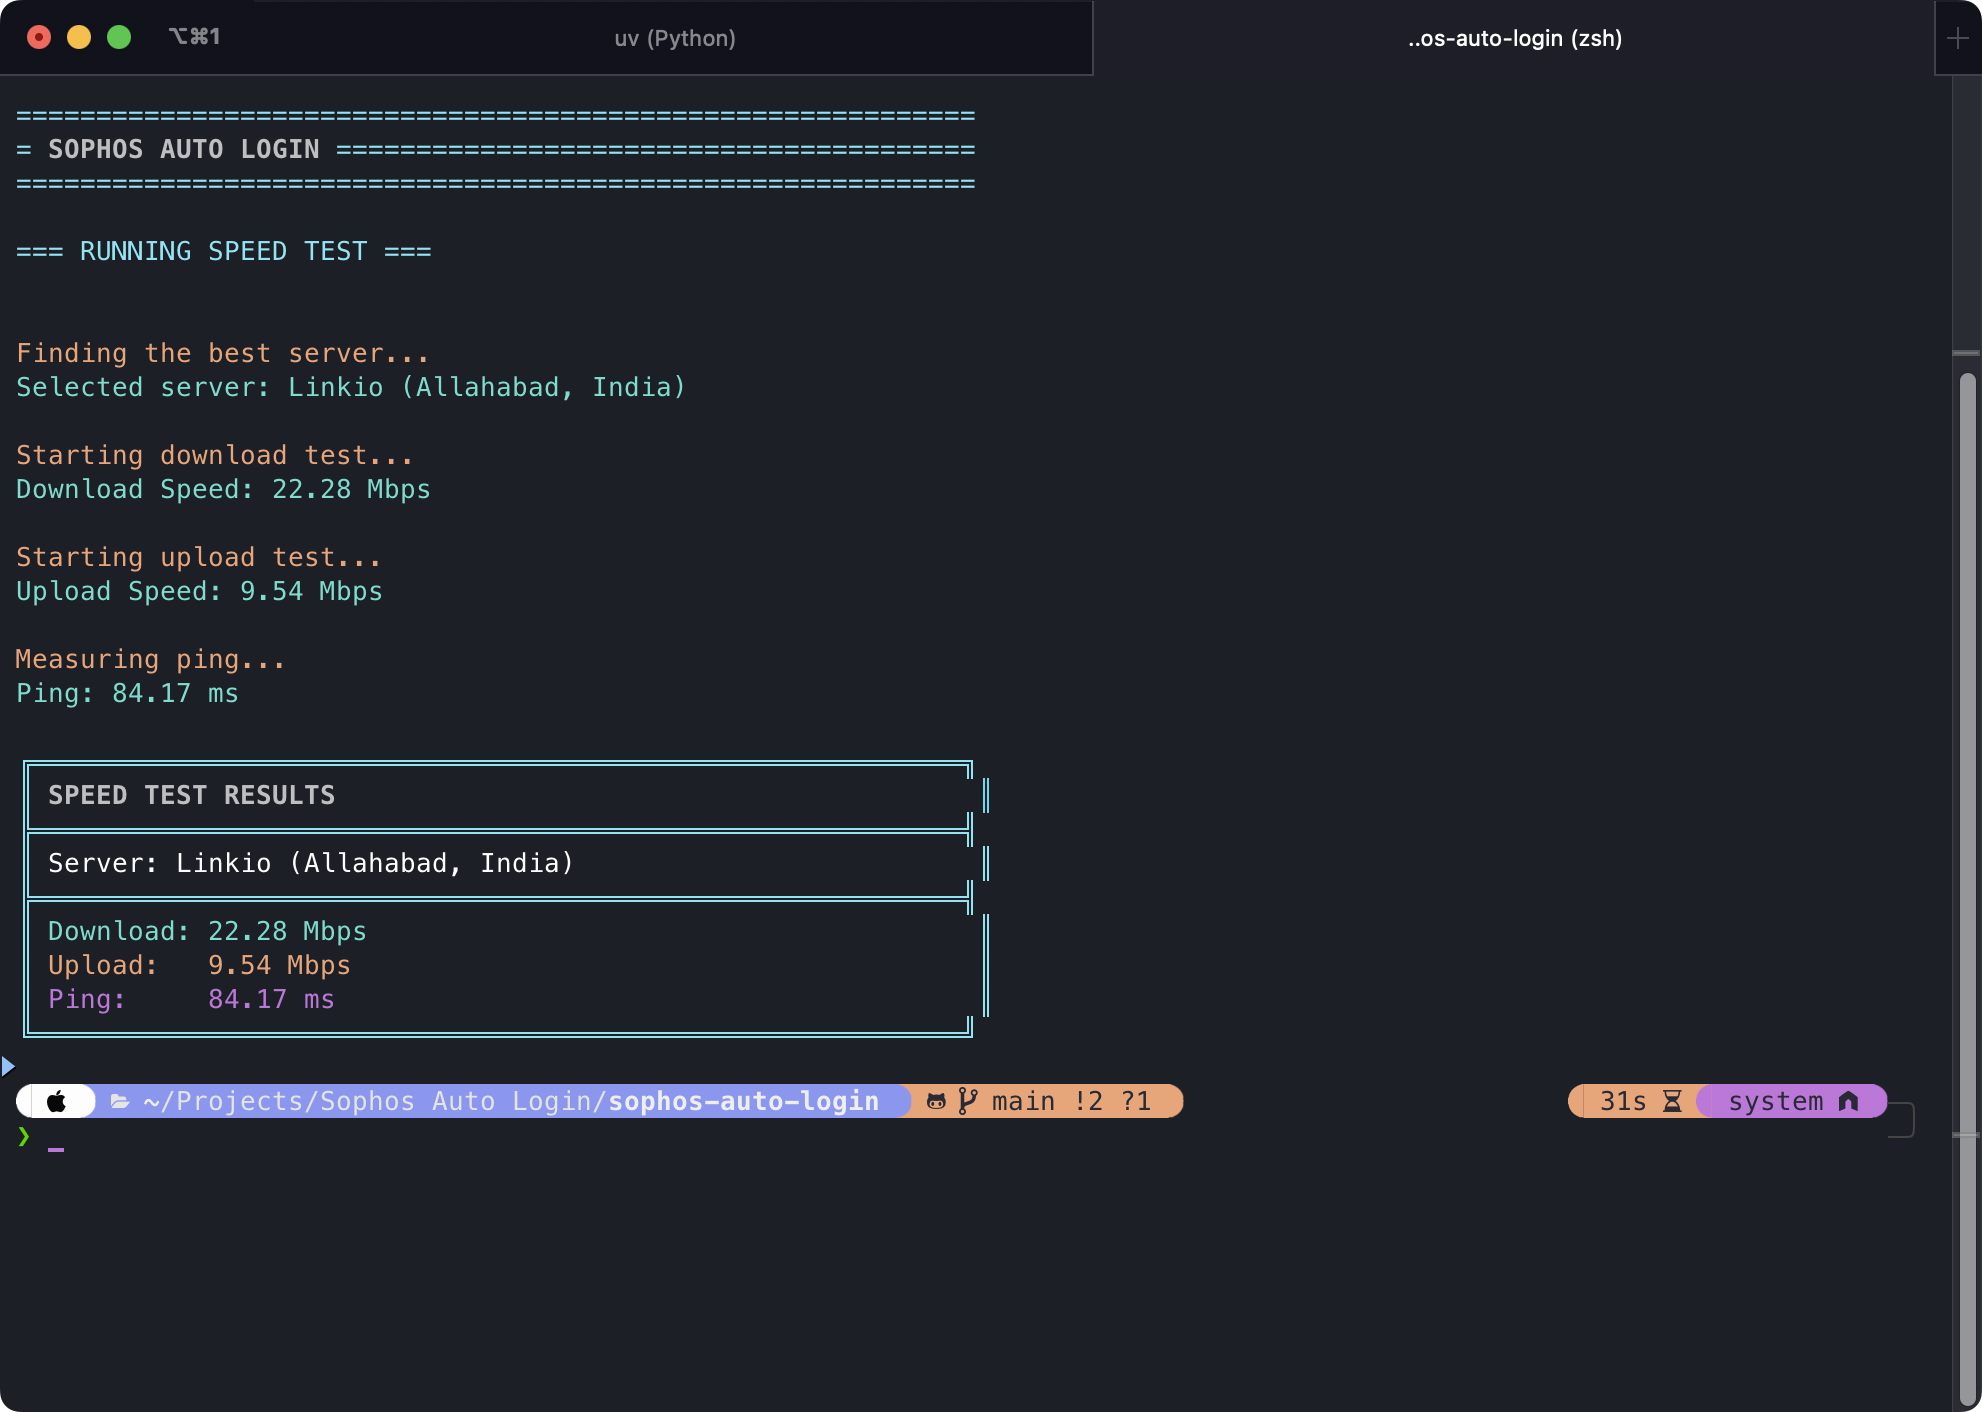
Running an internet speed test using --speedtest.
Additional Features
Automatic ID Switching
The script automatically switches to the next available ID in the database if:
- The current ID reaches its data limit
- The current ID fails to log in
This ensures uninterrupted connectivity.
Internet Connection Check
The script periodically checks for internet connectivity every 90 seconds. If the internet connection is lost, the script will attempt to log in again.
Scheduled Re-login
To ensure continuous connectivity, the script performs a scheduled re-login every 30 minutes, even if the internet connection is active.
Importing Previous CSV Files
If you have previously used the CSV-based version of this script, you can directly import your existing CSV files:
python autologin.py --import credentials.csvCreating an Executable
To create an executable from the Python script, follow these steps:
- Clone the repository and navigate to the project directory:
git clone https://github.com/tashifkhan/sophos-auto-login.git cd sophos-auto-login - Install the required dependencies:
pip install -r requirements.txt - Install PyInstaller:
pip install pyinstaller - Create the executable:
# For MacOS / Linux
pyinstaller --onefile --add-data "db/credentials.db:." autologin.py

# For Windows
pyinstaller --onefile --add-data "db/credentials.db;." autologin.py
This will create an executable file in the dist directory that you can run directly.
macOS and Linux Setup
On Unix-based systems like macOS and Linux, you can set up the script to run as a standalone application with a virtual environment. This approach is more lightweight than creating an executable and provides better integration with the system.
Step 1: Creating a Virtual Environment
A virtual environment isolates the script's dependencies from the system Python:
# Navigate to the project directory
cd sophos-auto-login

# Create a virtual environment
python3 -m venv venv

# Activate the virtual environment
source venv/bin/activate

# Install dependencies
pip install -r requirements.txt
Step 2: Creating an Executable Script
Make the Python script executable with a shebang line:
- Add a shebang line to point to your virtual environment's Python interpreter:
#!/path/to/sophos-auto-login/venv/bin/python3

# Rest of your autologin.py content...
You can find the correct path by running:
which pythonwhile your virtual environment is activated.
- Make the script executable:
chmod +x autologin.py - Now you can run the script directly:
./autologin.py
Step 3: Creating a Launcher (Optional)
You can create a shell script to easily run your application:
#!/bin/bash
# Save this as run_sophos.sh

# Navigate to the script directory
cd /path/to/sophos-auto-login

# Activate virtual environment and run the script
source venv/bin/activate
./autologin.py "$@"
Make the launcher executable:
chmod +x run_sophos.shStep 4: Creating a System Service (Linux)
On Linux, you can create a systemd service to run the script at startup:
[Unit]
Description=Sophos Auto Login Service
After=network.target

[Service]
ExecStart=/path/to/sophos-auto-login/venv/bin/python3 /path/to/sophos-auto-login/autologin.py --start --daemon
WorkingDirectory=/path/to/sophos-auto-login
Restart=always
RestartSec=10
User=your_username

[Install]
WantedBy=multi-user.target
Save this file as sophos-autologin.service in /etc/systemd/system/ and run:
sudo systemctl enable sophos-autologin.service
sudo systemctl start sophos-autologin.service
Step 5: Creating a Launch Agent (macOS)
On macOS, you can create a Launch Agent to automatically start the script at login:
<?xml version="1.0" encoding="UTF-8"?>
<!DOCTYPE plist PUBLIC "-//Apple//DTD PLIST 1.0//EN" "http://www.apple.com/DTDs/PropertyList-1.0.dtd">
<plist version="1.0">
<dict>
    <key>Label</key>
    <string>com.user.sophosautologin</string>
    <key>ProgramArguments</key>
    <array>
        <string>/path/to/sophos-auto-login/venv/bin/python3</string>
        <string>/path/to/sophos-auto-login/autologin.py</string>
        <string>--start</string>
        <string>--daemon</string>
    </array>
    <key>RunAtLoad</key>
    <true/>
    <key>KeepAlive</key>
    <true/>
    <key>StandardErrorPath</key>
    <string>/Users/your_username/.sophos-autologin/error.log</string>
    <key>StandardOutPath</key>
    <string>/Users/your_username/.sophos-autologin/output.log</string>
    <key>WorkingDirectory</key>
    <string>/path/to/sophos-auto-login</string>
</dict>
</plist>
Save this file as com.user.sophosautologin.plist in ~/Library/LaunchAgents/ and run:
launchctl load ~/Library/LaunchAgents/com.user.sophosautologin.plistStep 6: Using Aliases for Quick Access
Add an alias to your shell configuration file (~/.bashrc, ~/.zshrc, etc.):
# Add this to your shell configuration file
alias sophos-login="cd /path/to/sophos-auto-login && source venv/bin/activate && ./autologin.py"
alias sophos-start="sophos-login --start"
alias sophos-stop="sophos-login --exit"
After saving, reload your configuration:
source ~/.bashrc # or ~/.zshrc depending on your shellNow you can use simple commands from anywhere:
sophos-start    # Start the auto-login process
sophos-stop     # Stop the process and logout